 Fertilizer
Fertilizer for Spring: A Soil Test-Driven Guide
You're standing in the lawn aisle, staring at bags with three big numbers on the front, and your soil test is sitting on your phone with a bunch of lab terms you don't fully trust yet. That's where most spring fertilizer mistakes start.
The fix is simple. Don't buy first and justify it later. Read the lawn, read the soil test, then match the bag to the need.
A good fertilizer for spring isn't “high nitrogen” or “for green-up.” It's the product that fits your lawn's actual nutrient gaps, your grass type, and the timing of real spring growth.
Table of Contents
- When to Apply Your First Spring Fertilizer
- How to Read Your Soil Test for Spring
- Choosing the Right Fertilizer Bag for Your Soil
- Calculating How Much Fertilizer to Actually Use
- A Real-World Example From Soil Test to Spreader
- Your Spring Fertilizer Action Checklist
When to Apply Your First Spring Fertilizer
The first spring feeding is mostly a timing decision. If the lawn isn't actively growing, fertilizer for spring won't do what you want it to do.

Watch the lawn, not the calendar
For cool-season lawns, the sweet spot is when soil temperatures are consistently in the 55 to 65°F range and the grass is clearly growing. In practical terms, that usually means the lawn has started to wake up, color is returning, and you've mowed at least once or are close to it.
If the turf is soggy, barely moving, or still acting dormant, wait. Spring fertilizer should support growth that's already starting. It shouldn't try to force it.
Warm-season lawns need a different trigger. Don't fertilize just because the top layer looks a little green. Wait until green-up is real and the lawn is actively growing.
Practical rule: Your first spring feeding should replace momentum, not “make up” for winter.
Professional farming works the same way. Timing comes first. In major crops, growers often hold nitrogen until the plant is actively using it. USDA data shows cotton farmers applied 59% of their nitrogen after planting, during active growth, which helps line up application with uptake and reduce waste, according to the USDA Economic Research Service chart on fertilizer timing.
If you want a broader overview of timing and application method, this guide on the best way to fertilize a lawn is a useful companion.
A simple timing filter
Use this quick check before you spread anything:
- Cool-season lawn and actively growing: A moderate spring feeding makes sense.
- Weak color but still growing: Feed lightly to moderately, not aggressively.
- Heavy late-fall feeding last year: Reduce the spring push.
- Sandy soil or a very wet winter: Favor smaller split applications instead of one heavy shot.
- Frozen, waterlogged, or dormant lawn: Hold off.
For cool-season turf, a practical first spring nitrogen range is 0.25 to 0.75 lb N per 1,000 sq ft when the lawn is actively growing. If it's already growing well and got a strong late-fall feeding, stay on the lower end. If color is weak but the lawn isn't stressed, a moderate rate fits better.
The mistake I see most often is early nitrogen on a lawn that hasn't started using it. Homeowners mean well, but they feed the calendar instead of the grass. That usually creates waste, uneven response, or too much top growth before the roots are ready to support it.
How to Read Your Soil Test for Spring
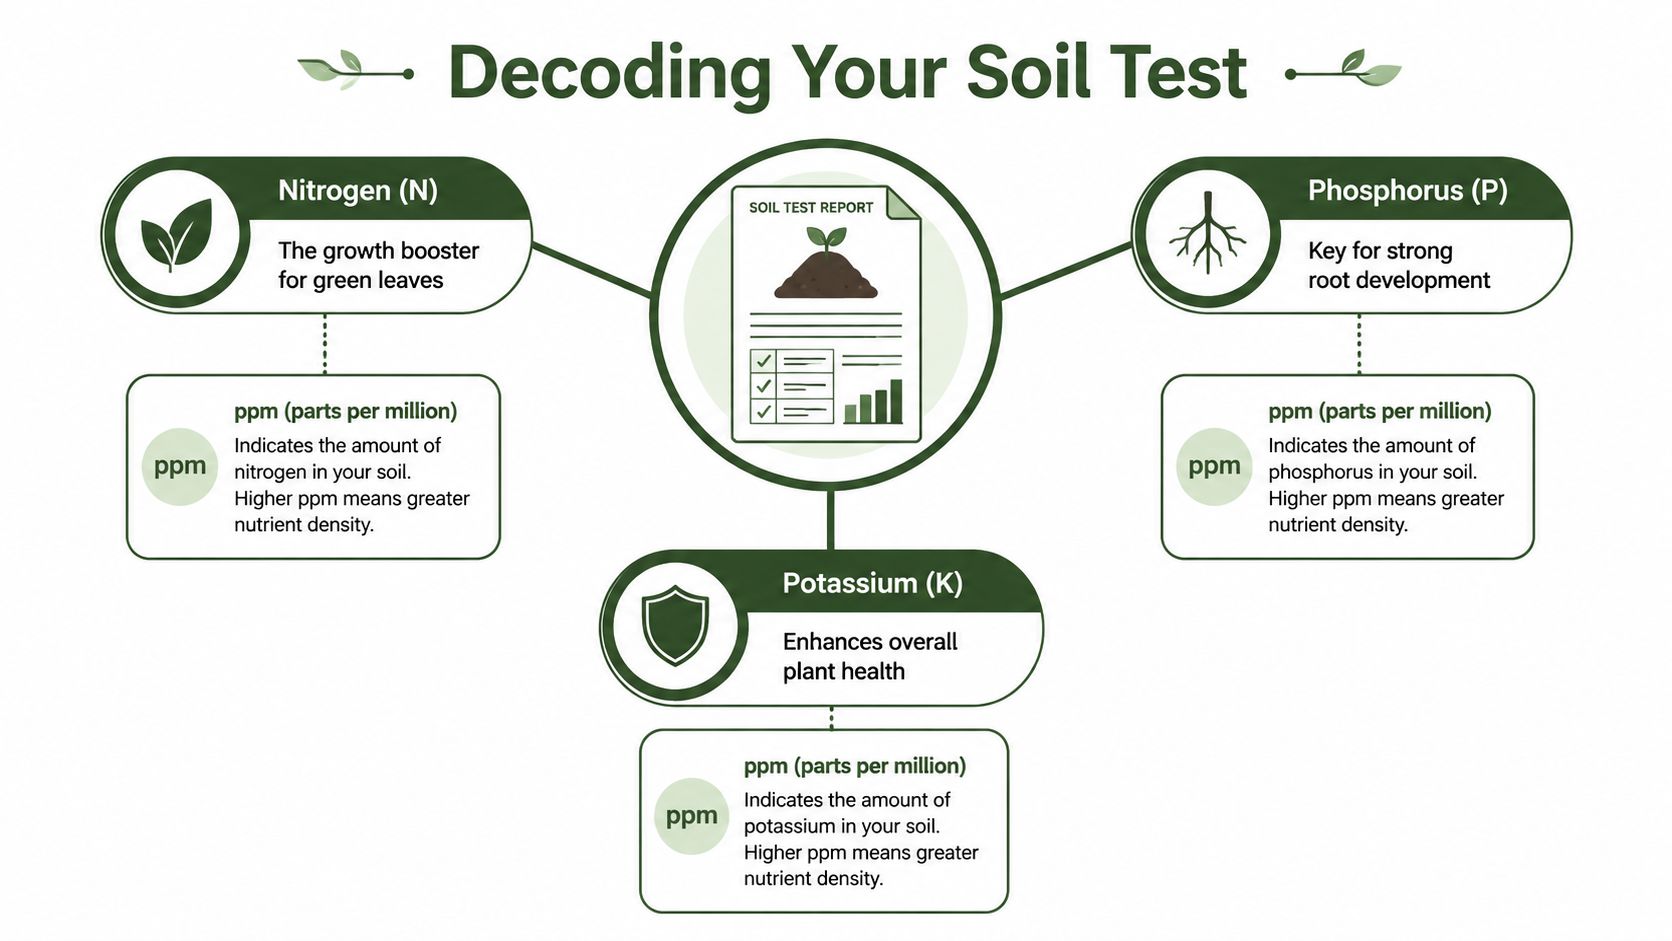
A soil test looks more complicated than it is. For a spring lawn plan, most homeowners need to focus on nitrogen, phosphorus, and potassium, plus whether the report labels each one as low, adequate, optimum, or high.
Start with the three numbers that matter most
Nitrogen (N) drives leaf growth and green color. It's the nutrient often prioritized first in spring. It also moves readily in the soil, which is why “stored nitrogen” isn't something I'd use as a simple replacement formula for lawns.
Phosphorus (P) helps with root development. It matters most when soil tests show a need, or when you're establishing new grass. On an established lawn, it's often the nutrient people apply by habit, not by need.
Potassium (K) supports overall plant health and stress tolerance. If your soil test says potassium is low, that's useful spring information because K can help the lawn handle the season better without forcing a lot of top growth.
Here's the practical way to read the report:
| Soil test result | What it means for spring |
|---|---|
| Low N | Use a moderate nitrogen feeding once the lawn is actively growing |
| Adequate or high P | Avoid default phosphorus in a maintenance fertilizer |
| Low K | Look for a bag that adds potassium without adding extra phosphorus |
What ppm means in plain English
ppm means parts per million. You don't need to do chemistry with it. Think of it as a concentration reading that tells you whether a nutrient is scarce, sufficient, or already sitting in the soil at a useful level.
What matters most is the lab's interpretation. If the report says phosphorus is adequate, don't keep chasing “balanced” fertilizer. If it says potassium is low, build your bag choice around that.
If you haven't tested yet, start there. This guide on where to get your soil tested walks through the process.
High nitrogen sounds helpful until it overshoots the lawn's needs.
That's not just theory. Field trials in spring maize found that excessively high nitrogen rates increased residual soil nitrate by 2.1 times and 2.3 times, which raised leaching risk, according to the open-access field trial summary on nitrogen rates and residual nitrate. Lawn conditions aren't identical to crop fields, but the lesson carries over well: more nitrogen than the plant can use leaves leftovers behind.
That's why I'd rather see a homeowner read the soil report and make a clean decision than buy a generic bag and hope it averages out.
Choosing the Right Fertilizer Bag for Your Soil
Once you know what the soil needs, the bag gets easier to read. Most mistakes happen because people start with a familiar product instead of a target.
What the bag numbers mean
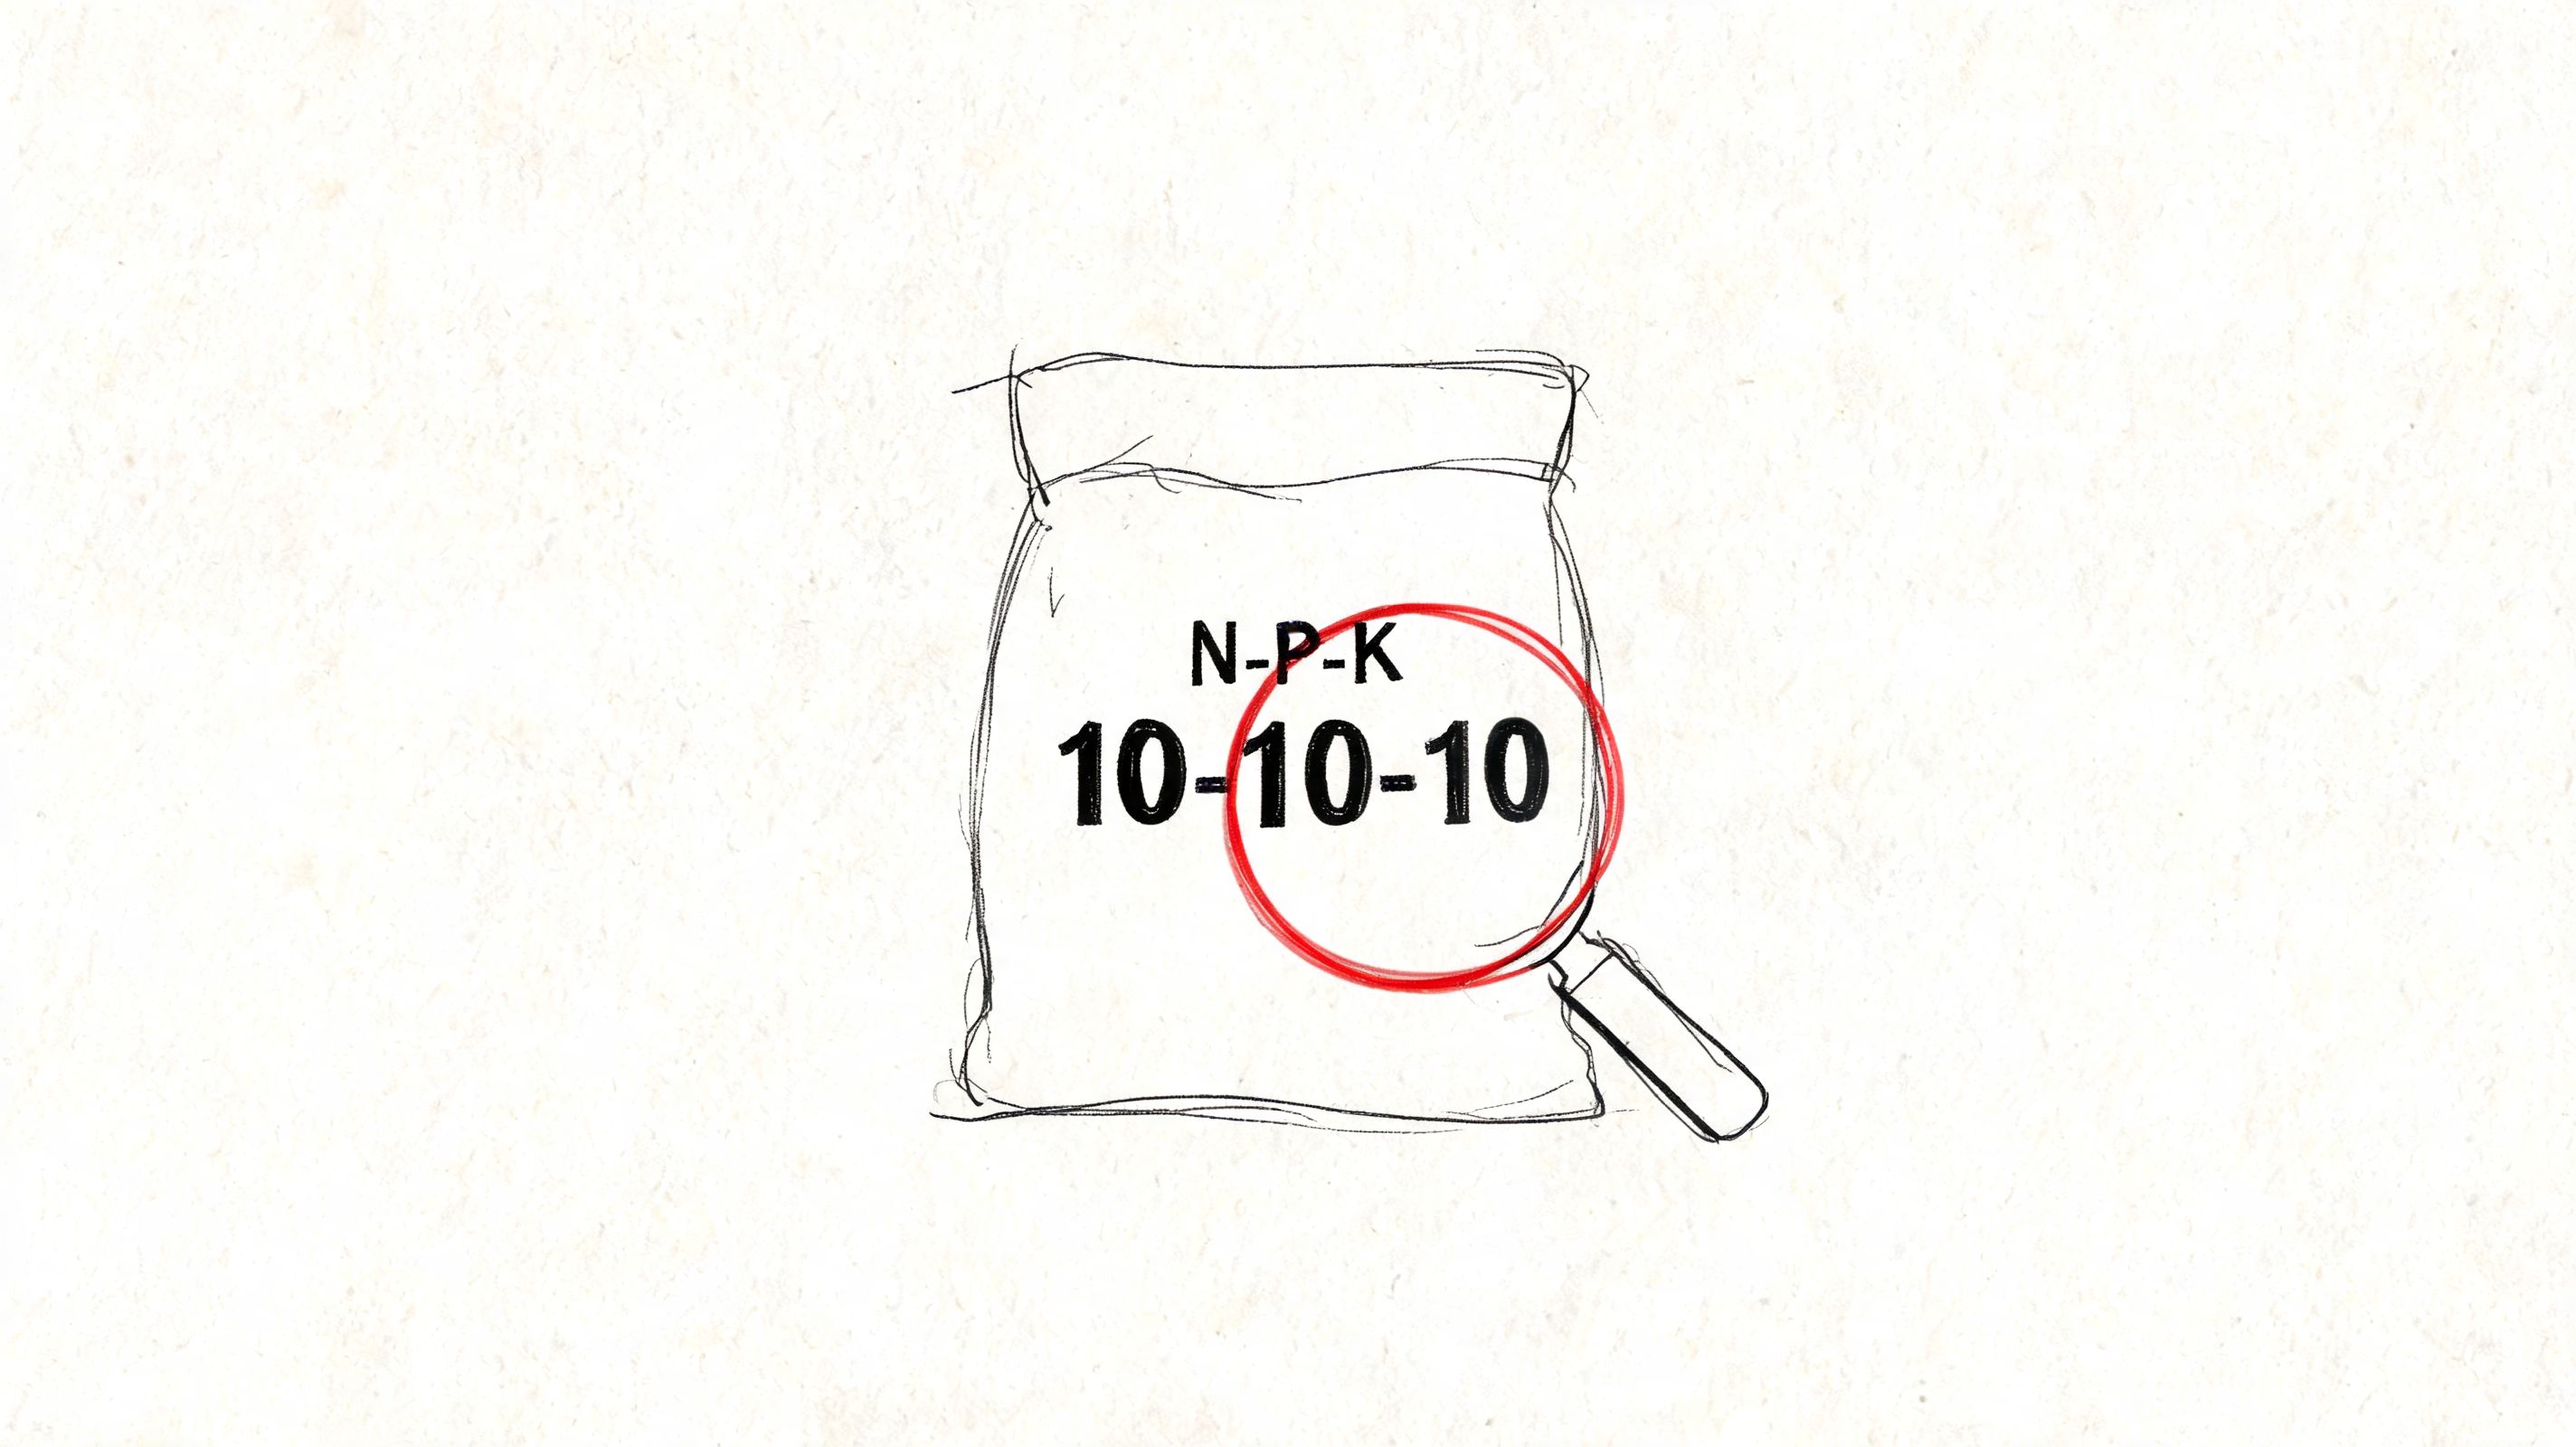
The three numbers on a fertilizer bag are the N-P-K analysis.
That means:
- First number: nitrogen
- Second number: phosphorus as P2O5
- Third number: potassium as K2O
So a 10-10-10 bag has equal percentages of all three. A 25-0-5 bag has nitrogen, no phosphorus, and some potassium. A 12-0-24 bag pushes potassium harder.
That middle number is where a lot of homeowners go wrong in spring.
Why balanced fertilizer is often the wrong buy
For an established lawn with enough phosphorus in the soil, the recommended ratio is often 3:0:2 or 4:0:2, meaning zero phosphorus is often appropriate, according to this explanation of spring fertilizer ratios for established lawns.
That's why I'm usually skeptical of “balanced” spring fertilizer for a mature lawn. It sounds safe. It often isn't precise.
If your soil test says phosphorus is sufficient or high, a bag with a zero in the middle is usually the smarter maintenance choice. It lets you feed nitrogen and, if needed, potassium without adding a nutrient the lawn doesn't need.
A few practical buying rules help:
- Established lawn with adequate P: Choose a zero-phosphorus or very low-phosphorus product.
- Low potassium soil: Look for a bag that includes K without forcing extra P.
- Need steady feeding: Prefer slow-release nitrogen over a quick green surge.
- No soil test: Don't make repeated spring phosphorus applications your default.
The best bag for spring is often the one that leaves something out.
This is also where a planning tool can help. MySoilPlan takes soil test values and lawn size, then turns them into nutrient targets and product-aware recommendations so the bag fits the plan rather than the other way around.
If you remember one thing from this section, remember this: don't let the bag tell you what your soil needs. Let the soil test tell you what kind of bag to buy.
Calculating How Much Fertilizer to Actually Use
Bag labels tell you what's in the product. They do not tell you what your lawn needs. That part is math.
Use the actual nutrient target, not the bag rate
For cool-season turf, a typical spring nitrogen target is 0.5 to 1 lb N per 1,000 sq ft, and Penn State reports that split applications of slow-release nitrogen can cut nutrient loss by 35% and boost turf density by 22% compared with a single heavy quick-release application, according to Penn State's turfgrass fertilization guide.
The basic formula is simple:
product needed = nutrient target ÷ decimal fertilizer analysis
If your target is 0.75 lb N per 1,000 sq ft and your bag is 20-0-0, the math is:
- 0.75 ÷ 0.20 = 3.75 lb of product per 1,000 sq ft
If your lawn is 5,000 sq ft, multiply that result by five:
- 3.75 × 5 = 18.75 lb of product total
If the total nitrogen goal is on the higher side, or your soil is sandy, split it into two lighter applications instead of one heavy one.
You can use a calculator for square footage and rate planning, and if your soil test also calls for pH correction, a separate lime application rate calculator can help you keep that part separate from fertilizer math.
When phosphorus becomes the limit
Homeowners accidentally over-apply nutrients.
Say you want 0.75 lb N per 1,000 sq ft, but the only bag you have is 10-10-10. To get your nitrogen target:
- 0.75 ÷ 0.10 = 7.5 lb product per 1,000 sq ft
That also applies:
- 0.75 lb P2O5 per 1,000 sq ft
- 0.75 lb K2O per 1,000 sq ft
Now say your soil test only calls for 0.25 lb P2O5 per 1,000 sq ft. The phosphorus limit controls the application, not the nitrogen target.
So the most you can safely apply from that bag is:
- 0.25 ÷ 0.10 = 2.5 lb product per 1,000 sq ft
That gives you only:
- 0.25 lb N per 1,000 sq ft
At that point, the right move is straightforward:
- Apply only the phosphorus-safe amount of the balanced bag.
- If more nitrogen is needed, add it with a separate zero-phosphorus nitrogen source.
Don't chase your nitrogen target with a bag that overloads phosphorus first.
That one adjustment saves money, prevents buildup, and keeps the spring plan tied to the soil test instead of store inventory.
A Real-World Example From Soil Test to Spreader
Let's walk through a normal homeowner scenario.
Sarah has an established 5,000 sq ft cool-season lawn. Her soil test says phosphorus is already adequate, but potassium is low. She wants fertilizer for spring that helps the lawn recover and thicken without wasting money on nutrients she doesn't need.
Step 1 pick the right type of bag
Sarah skips the balanced bags.
That's the first good decision. Since phosphorus is already fine, a bag with phosphorus in the middle would keep adding a nutrient that isn't helping her spring plan. She looks instead for a fertilizer with nitrogen and potassium, but no phosphorus.
A bag in that category lets her support spring growth while addressing the low K result. That fits the soil, not just the season.
Step 2 convert the recommendation correctly
This is the part that trips people up.
Some soil tests report elemental P and K, while fertilizer bags list P2O5 and K2O. Those aren't the same thing. The University of Maryland guidance explains that ignoring the conversion can lead to major over-application. In particular, P2O5 × 0.44 = P, and missing that conversion can cause someone to apply more than double the intended phosphorus, as outlined in the University of Maryland fertilizer basics guide.
So if Sarah's soil test gives recommendations in elemental terms, she needs to convert before matching them to a bag.
Here's the plain-language rule:
- If the soil report gives P or K, check whether the fertilizer bag shows P2O5 or K2O
- Convert first
- Then calculate the product rate
If the report already gives P2O5 and K2O, she can skip that conversion step and go right to the bag math.
Step 3 build the spreader plan
Sarah's lawn is actively growing, but she doesn't want a heavy spring push.
So she picks a moderate nitrogen target and plans to split the spring feeding into two lighter applications because her yard drains fast after rain. That approach keeps the feeding steadier and gives her room to adjust after the first pass if growth speeds up.
Her process looks like this:
- Measure the lawn area so the rate is based on actual square footage
- Set the nutrient target from the soil test and spring growth stage
- Choose a zero-phosphorus bag that also helps with potassium
- Calculate product needed from the bag analysis
- Split the application into two lighter passes a few weeks apart
- Water it in after spreading
That's a clean spring plan. No guessing, no extra phosphorus, no dumping a heavy rate because the bag looked familiar.
Your Spring Fertilizer Action Checklist
Keep this part simple. If you follow this order, you'll avoid most spring fertilizer mistakes.
- Check for active growth: Don't fertilize a lawn that's dormant, soggy, or barely moving. Cool-season turf responds best when soil temperatures are in the mid-50s to mid-60s and growth is underway.
- Read the soil test before shopping: Focus on whether nitrogen is needed now, whether phosphorus is already adequate, and whether potassium is low.
- Match the bag to the need: For many established lawns, spring maintenance works better with little or no phosphorus. Balanced fertilizer is often the wrong default.
- Calculate actual product amount: Use the nutrient target and bag analysis. Don't rely on a generic bag rate.
- Let the limiting nutrient control the rate: If a bag would oversupply phosphorus before it meets your nitrogen goal, stop at the phosphorus-safe amount.
- Split spring nitrogen when it makes sense: If your total spring nitrogen is on the higher end, or your soil is sandy, lighter split applications are usually the safer move.
- Water granular fertilizer in: That helps move nutrients into the soil and lowers the chance of loss at the surface.
- Keep records: Write down the product, rate, date, and response. That makes next spring easier.
A good fertilizer for spring is precise. It fits your soil test, your lawn size, and your lawn's growth stage.
That's how you stop guessing and start feeding the lawn on purpose.